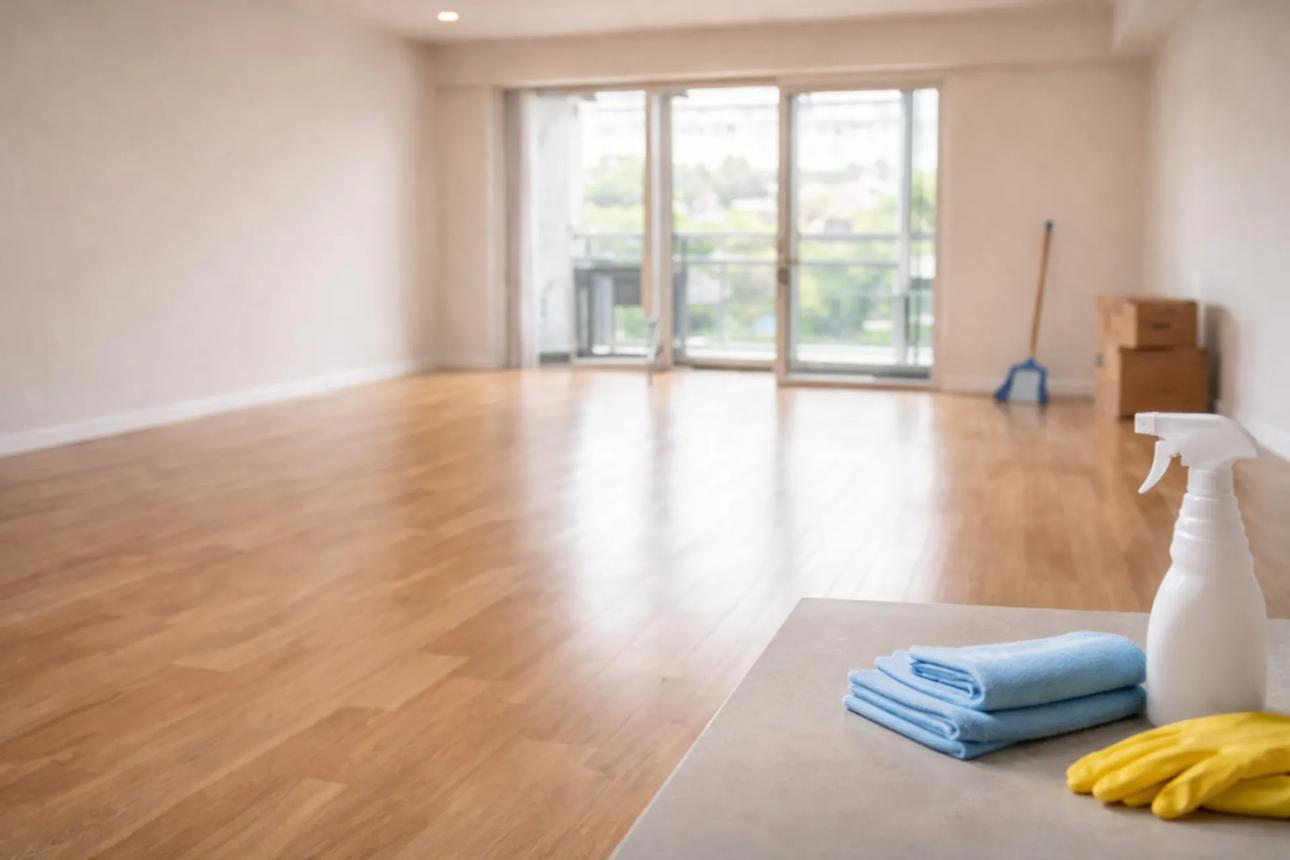
Checklist for Move Out Cleaning: 25 Essential Tasks
Moving out can be stressful, especially when you have to pack your belongings, organize transportation, and prepare your old home for its next occupant. Cleaning is one final task that is easy to overlook when you have so much to do.
A checklist for move out cleaning helps you stay organized and ensures you do not miss important areas such as kitchen appliances, bathroom fixtures, cabinets, baseboards, and floors. Whether you are leaving an apartment, rental house, or privately owned property, a room-by-room plan can make the process easier.
This guide covers essential move-out cleaning tasks, the supplies you need, practical cleaning tips, and a final inspection checklist to help you leave your home in good condition.
Why Do You Need a Move-Out Cleaning Checklist?
A move-out cleaning checklist gives you a clear plan to follow before handing over your keys. Instead of cleaning randomly, you can work through each room and check off completed tasks.
A detailed checklist can help you:
- Remember areas that are often overlooked, including cabinet interiors and window tracks.
- Remove dust, grease, food residue, soap scum, and everyday dirt.
- Prepare your rental for a final walkthrough.
- Keep track of cleaning tasks when several people are helping.
- Document the property’s condition before leaving.
If you rent your home, review your lease and any written move-out instructions first. Cleaning expectations vary by property and agreement. Thorough cleaning can help you meet those expectations, but it does not guarantee a full security deposit refund.
Move Out Cleaning Checklist: 7 Easy Steps for a Spotless Home
Cleaning Supplies to Gather Before You Start
Collect your supplies before beginning so you do not have to interrupt your work.
Useful supplies include:
- Microfiber cloths and cleaning rags
- Sponges and non-scratch scrub pads
- A bucket and mop
- A broom, dustpan, and vacuum cleaner
- A glass cleaner and squeegee
- An appropriate all-purpose cleaner
- A bathroom cleaner
- A kitchen degreaser
- A toilet brush
- Rubber cleaning gloves
- Trash bags
- Paper towels or reusable cloths
- A step stool for safely reaching accessible high surfaces
Choose products that are suitable for the surfaces you are cleaning. Follow label instructions, ventilate the area when appropriate, and never mix cleaning chemicals, especially bleach with ammonia or acidic products.
Checklist for Move Out Cleaning: 25 Essential Tasks
Use the following room-by-room list as a practical starting point. Check your lease or property manager’s instructions because some tasks may not apply to every home.
1. Remove Belongings and Trash
Before deep cleaning, remove furniture, boxes, personal items, and rubbish.
- Empty rooms, closets, and storage spaces.
- Remove leftover food and unwanted household items.
- Collect trash and dispose of it properly.
- Check drawers, cabinets, and shelves for forgotten belongings.
- Remove removable liners if required and clean the exposed surfaces.
An empty home is easier to clean because you can reach corners, edges, and surfaces that were previously blocked.
2. Dust Ceiling Fans and Light Fixtures
Dust can settle on high surfaces and fall onto freshly cleaned floors.
- Dust accessible ceiling fan blades.
- Wipe accessible light fixtures after switching them off and allowing them to cool.
- Remove cobwebs from corners.
- Dust accessible vents and air-return grilles.
- Wipe the tops of door frames and other reachable ledges.
Do not climb on unstable furniture or handle electrical fixtures while they are powered.
3. Clean Doors, Handles, and Light Switches
These frequently touched surfaces can collect fingerprints and grime.
- Wipe door handles and knobs.
- Clean accessible door frames.
- Wipe light switch plates with a lightly damp cloth.
- Spot-clean washable marks on doors.
- Clean the front and interior sides of entry doors as appropriate.
Avoid allowing liquid to enter switches, outlets, or electrical components.
4. Clean Baseboards and Window Sills
Baseboards and window sills are easy to miss during routine cleaning.
- Dust or vacuum baseboards.
- Wipe away visible dirt and scuffs using a suitable cleaner.
- Clean window sills and accessible frames.
- Remove dust from window tracks.
- Spot-clean washable marks on walls where permitted.
Test cleaning products on an inconspicuous area first, especially on painted walls and delicate finishes.
5. Vacuum and Clean Floors
Finish the floors after dusting and cleaning higher surfaces.
- Vacuum carpets, rugs, and carpet edges.
- Sweep hard floors thoroughly.
- Mop tile, vinyl, and other washable surfaces with an appropriate product.
- Use a wood-safe cleaner on suitable wood flooring.
- Clean accessible corners and areas behind doors.
- Allow floors to dry before walking on them.
Carpet shampooing or professional floor treatment may be necessary if the carpet is heavily soiled or your lease specifically requires an appropriate treatment.
Kitchen Move-Out Cleaning Checklist
The kitchen often needs extra attention because cooking produces grease, food residue, and spills.
6. Clean Kitchen Cabinets and Drawers
- Empty all cabinets and drawers.
- Wipe interior shelves and drawer bottoms.
- Clean cabinet fronts and handles.
- Remove crumbs and loose debris.
- Dry surfaces thoroughly before closing the cabinets.
7. Clean the Refrigerator and Freezer
- Remove leftover food and personal items.
- Wipe shelves and drawers according to the manufacturer’s instructions.
- Clean the interior walls and door compartments.
- Wipe the exterior, handles, and accessible top surfaces.
- Dry surfaces before returning removable parts.
If defrosting is necessary, follow the appliance manual and take appropriate precautions.
8. Clean the Oven and Stovetop
- Remove loose crumbs and food residue.
- Clean the stovetop using a compatible cleaner.
- Wipe burner areas or removable components as directed by the manufacturer.
- Clean oven racks and the oven interior if required.
- Wipe the oven door and exterior controls carefully.
Do not use abrasive products on surfaces that can scratch, and follow the manufacturer’s instructions for self-cleaning ovens.
9. Clean the Microwave and Dishwasher
- Wipe the microwave interior and exterior.
- Remove food splatters and clean the turntable.
- Wipe the dishwasher door and exterior.
- Clean the dishwasher filter if the model has a user-accessible filter and the manual permits it.
- Remove visible residue from the door seal.
Do not disassemble appliances or use cleaning methods that conflict with their instructions.
10. Clean Counters, Sink, and Backsplash
- Remove crumbs and items from countertops.
- Clean the backsplash with a surface-appropriate product.
- Scrub the sink and rinse away residue.
- Clean the faucet and handles.
- Wipe the counter edges and areas around the sink.
Use products suitable for the countertop material, especially natural stone.
11. Clean the Range Hood and Take Out Trash
- Wipe the accessible range hood exterior.
- Clean the filter according to the manufacturer’s instructions.
- Empty the kitchen trash can.
- Wash the trash can if necessary.
- Check cabinets and pantry shelves for crumbs or spills.
Bathroom Move-Out Cleaning Checklist
Bathrooms need careful attention to soap residue, mineral deposits, and moisture-related grime.
12. Scrub the Toilet
- Clean the toilet bowl with an appropriate toilet cleaner.
- Wipe the seat, lid, and exterior surfaces.
- Clean the base and accessible area behind the toilet.
- Wipe the flush handle or button.
- Check for visible residue around the fixture.
Use separate cleaning cloths for the toilet and other bathroom surfaces.
13. Clean the Shower and Bathtub
- Remove personal products and loose debris.
- Scrub the tub and shower surfaces.
- Remove soap scum with a compatible product.
- Clean shower doors or curtains as appropriate.
- Wipe accessible fixtures and handles.
- Address visible mildew using a suitable product and label directions.
Persistent mold, damaged grout, or leaking fixtures may require maintenance rather than ordinary cleaning.
14. Clean the Bathroom Sink and Vanity
- Wipe the sink basin and faucet.
- Clean the countertop.
- Empty and wipe vanity drawers and cabinets.
- Clean the mirror with a suitable glass cleaner.
- Remove visible residue around the drain.
- Wipe cabinet handles and the vanity exterior.
15. Clean Bathroom Floors and Vent Covers
- Sweep or vacuum loose debris.
- Mop the floor using a compatible cleaner.
- Clean accessible corners and edges.
- Dust the exterior of the exhaust fan cover.
- Empty the bathroom trash can.
Do not remove electrical vent components unless the manufacturer’s instructions allow safe cleaning.
Bedroom, Living Room, and Hallway Checklist
16. Empty Closets and Storage Areas
- Remove clothes, hangers, and stored belongings.
- Dust shelves and closet rods.
- Wipe accessible drawers and storage compartments.
- Vacuum or sweep closet floors.
- Check upper shelves and corners for dust.
17. Clean Windows and Window Treatments
- Clean accessible interior window glass.
- Wipe window sills and frames.
- Remove dust from accessible tracks.
- Dust blinds or clean them according to their material.
- Wash curtains only when appropriate and permitted.
Exterior window cleaning may not be necessary or safe, particularly on upper floors.
18. Dust Furniture-Free Living Areas
- Dust remaining built-in shelves.
- Wipe accessible surfaces and ledges.
- Spot-clean washable wall marks.
- Remove cobwebs from corners.
- Clean door frames and baseboards.
Do not patch nail holes or repaint walls without checking your lease and property manager’s instructions.
19. Clean Carpets and Hard Floors
- Vacuum carpeted bedrooms and living areas.
- Check floor edges and corners for dust.
- Sweep and mop hard flooring.
- Remove visible debris from closets.
- Follow the flooring manufacturer’s guidance for stains and cleaning products.
If you find a stain that cannot be removed safely, document it rather than damaging the surface through aggressive scrubbing.
Final Move-Out Cleaning and Inspection Checklist
20. Check Every Cabinet and Drawer
Open cabinets, drawers, and storage compartments throughout the property. Remove forgotten items, crumbs, dust, and visible residue.
21. Check Appliances and Fixtures
Make sure accessible appliance surfaces are clean and that you have completed any cleaning required by your lease. Report broken fixtures or maintenance issues instead of attempting unauthorized repairs.
22. Remove All Remaining Trash
Check every room, closet, cabinet, and outdoor area that is part of your responsibility. Dispose of rubbish according to the property’s rules.
23. Check for Missed Spots
Walk through the home slowly and look for:
- Dust on baseboards and ledges
- Smudges on doors and handles
- Residue in the kitchen sink
- Spots on bathroom mirrors
- Debris inside closets
- Dirt around floor edges
24. Take Photos After Cleaning
Photograph each room after your belongings have been removed and cleaning is complete. Capture the condition of the kitchen, bathroom, floors, appliances, and any existing damage that remains.
Keep copies of relevant move-out instructions, cleaning receipts, and correspondence with your property manager.
25. Complete the Final Walkthrough
Before returning your keys, confirm that:
- All personal belongings have been removed.
- The required cleaning tasks are complete.
- Trash has been disposed of properly.
- Windows and doors are secured as instructed.
- Any outstanding maintenance issues have been reported.
- You have followed the property’s key-return procedure.
If possible, ask your property manager whether a final walkthrough is available.
How to Make Move-Out Cleaning Easier
A little planning can make cleaning more manageable, especially when you are working against a moving deadline.
Start with an empty home. Pack and remove your belongings before the final deep clean whenever possible.
Work from top to bottom. Dust high surfaces first, clean counters and fixtures next, and finish with the floors.
Complete one room at a time. Follow the checklist, finish the room, and mark off completed tasks.
Check the lease before deep cleaning. Find out whether there are specific requirements for appliances, carpets, windows, or other areas.
Allow enough time. The amount of work depends on the property’s size, condition, number of rooms, and cleaning requirements. Do not assume every home can be thoroughly cleaned in the same amount of time.
Consider professional help when appropriate. A move-out cleaning service may be useful if you have limited time, extensive buildup, or a large property to prepare.
Essential Move-Out Cleaning Checklist
Can Move-Out Cleaning Help You Get Your Security Deposit Back?
Cleaning can help you meet your lease requirements, but it does not guarantee a full security deposit refund. Deposit rules and allowable deductions vary by state and locality.
Review your rental agreement, compare the property’s current condition with your move-in documentation, and ask your landlord or property manager for written cleaning instructions when needed.
For example, Seattle’s official renter guidance explains the distinction between ordinary wear and tear and damage, and recommends documenting the property’s condition with photographs. Those rules are specific to Seattle and should not be assumed to apply throughout Florida or the rest of the United States.
Before leaving, keep dated photos and copies of relevant communications. If a dispute arises, consult the applicable state or local housing authority for guidance.
Frequently Asked Questions
1. What should I clean first when moving out?
Start by removing personal belongings and trash. Then dust high surfaces, clean rooms and appliances, wipe cabinets and fixtures, and finish with the floors. This sequence helps prevent dust from settling on areas you have already cleaned.
2. What is included in a move-out cleaning checklist?
A typical checklist includes bedrooms, living areas, closets, windows, kitchen appliances, cabinets, bathrooms, fixtures, and floors. Your exact responsibilities depend on the property’s condition and your rental agreement.
3. Do I need to clean inside the oven and refrigerator?
Check your lease and written move-out instructions. Cleaning the interiors of these appliances is a common move-out task, particularly when they were provided with the rental and are expected to be left clean.
4. Should I clean carpets before moving out?
Vacuuming is a sensible starting point. Whether deeper carpet cleaning is necessary depends on the carpet’s condition, your lease, and any applicable rules. Use an appropriate cleaning method to avoid damaging the carpet.
5. When should I do my final move-out cleaning?
If possible, complete the final deep clean after removing your belongings and before the final walkthrough or key handover. This makes it easier to reach all surfaces and check the empty property.
6. Should I hire a professional move-out cleaning service?
Professional cleaning may be worthwhile when you have limited time, a large property, stubborn buildup, or specific cleaning requirements. Compare the scope of service and confirm exactly which tasks are included before booking.
7. Can my landlord deduct cleaning costs from my security deposit?
The answer depends on applicable state and local law, your rental agreement, and the property’s condition. Review official local guidance and your move-in records rather than assuming that every cleaning charge is permitted.
Final Thoughts
A well-organized checklist for move out cleaning helps you clean methodically and prepare your home for its next occupant. Focus on the kitchen, bathroom, storage areas, floors, and easily overlooked details such as window tracks and baseboards.
Before handing over the keys, check your lease, complete a final walkthrough, and take photos of the property’s condition. These practical steps can help you finish your move with fewer forgotten tasks and clearer documentation.
1 thought on “Checklist for Move Out Cleaning: 25 Easy Tips for a Stress-Free Move”